A Comprehensive Guide: Step-by-Step Instructions for Painting Trim and Doors Inside Your House
Unlock the Secrets to a Flawless Home Transformation with our Foolproof Painting Guide
Are you ready to embark on a transformative journey to revamp your home's interior? Painting the trim and doors is an excellent way to breathe new life into your space and unleash your creativity. In this comprehensive guide, we'll provide you with step-by-step instructions to ensure a successful and satisfying painting project. So, grab your paintbrush and let's get started on this exciting DIY adventure!
Step 1: Plan and Prepare Before diving into the world of painting, it's crucial to plan and prepare adequately. Here's what you need to do: 1. Assess the condition: Take a close look at your trim and doors. Are there any damages or imperfections that need to be addressed? If so, make necessary repairs, such as filling cracks or sanding rough surfaces.
2. Gather supplies: Make a list of all the supplies you'll need. This typically includes painter's tape, drop cloths, sandpaper, primer, paint, brushes, rollers, and a paint tray. Ensure you have the right tools for the job.
3. Choose the right paint: Consider the type of paint suitable for your trim and doors. Semi-gloss or high-gloss paints are commonly used for their durability and easy cleaning.
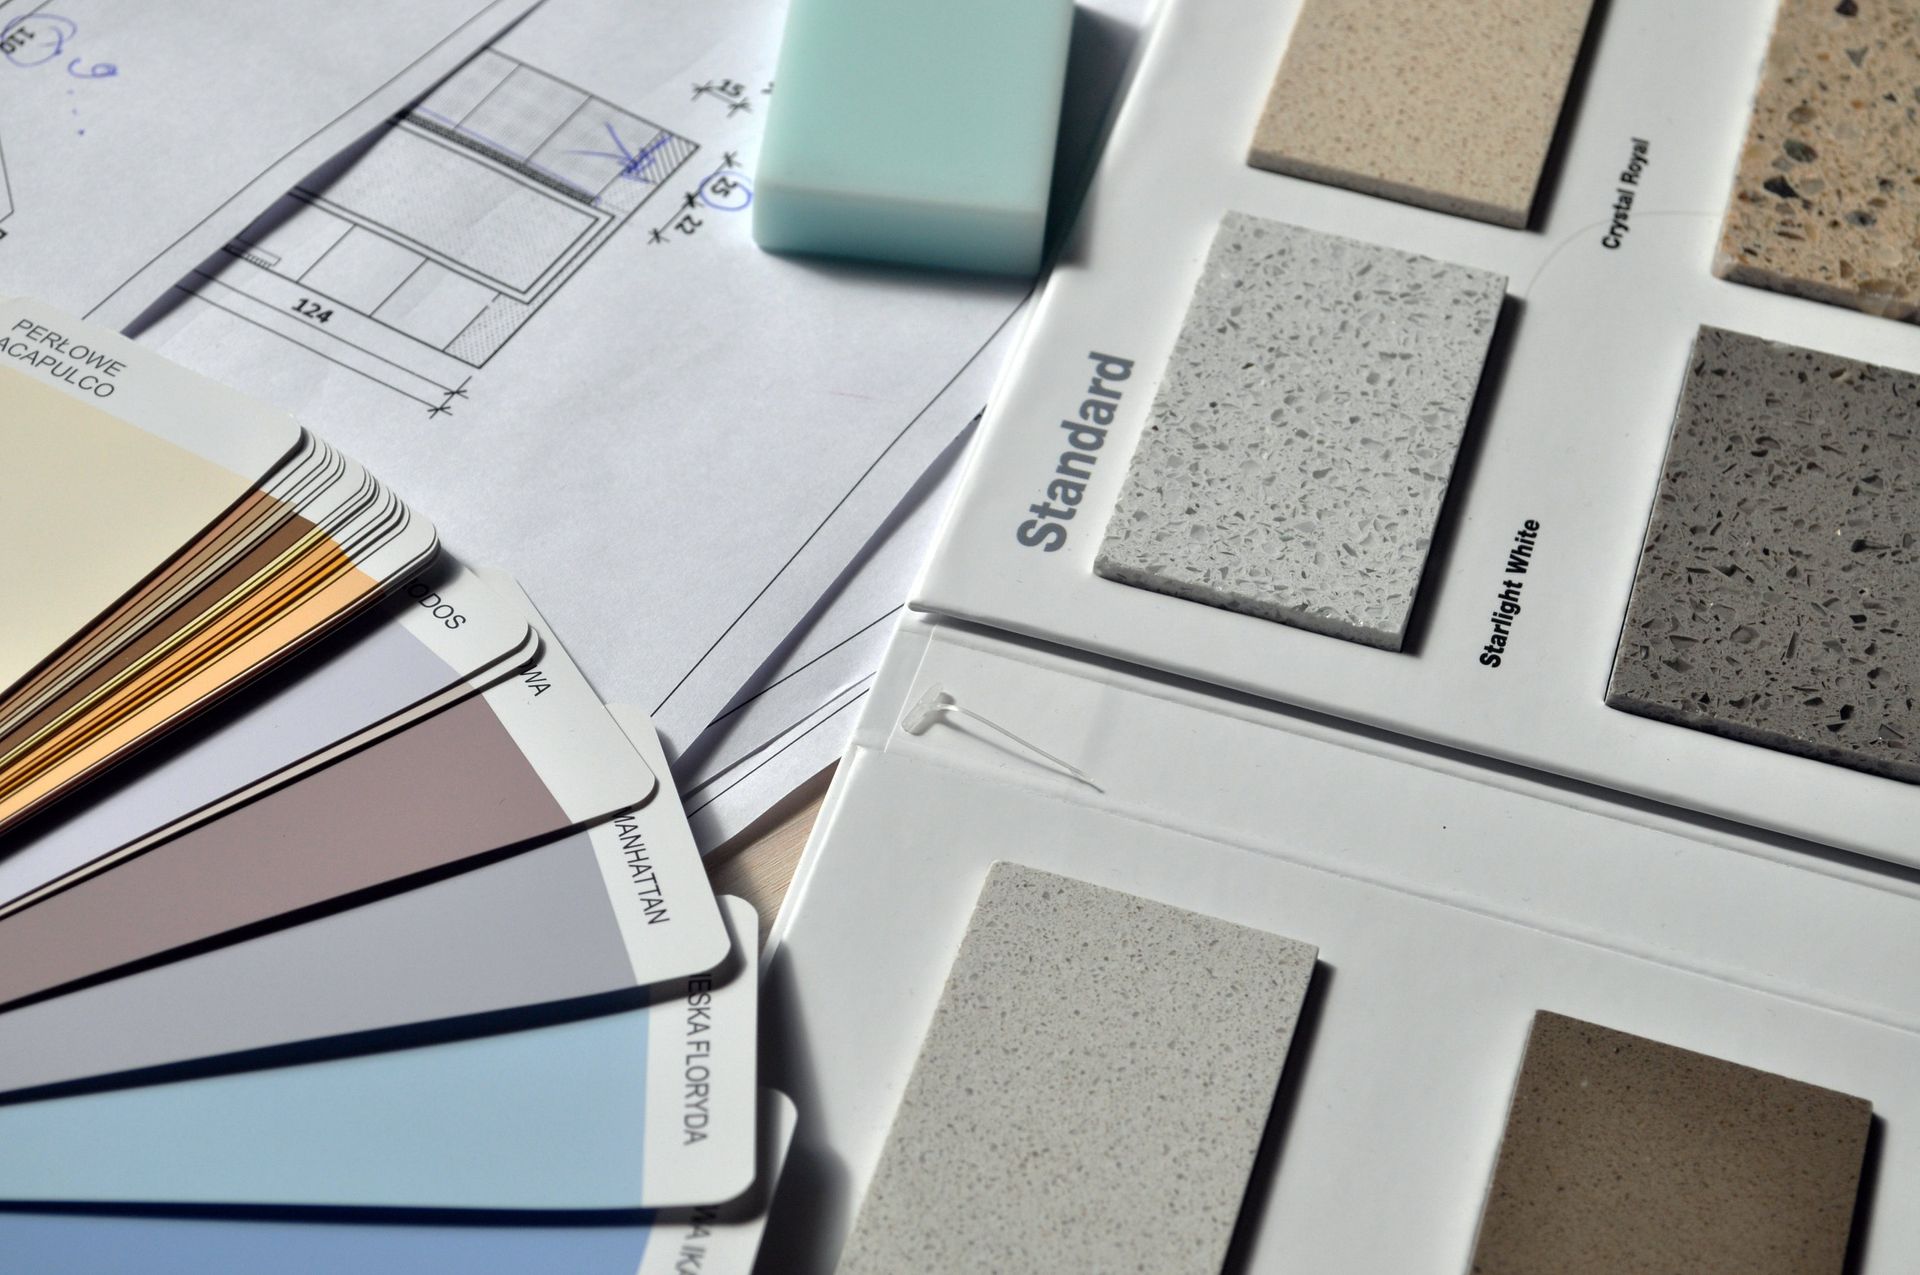
4. Pick your colors: Decide on the colors that will complement your existing decor or desired aesthetic. Remember to test samples on a small area to ensure you're satisfied with the result.
5. Prepare the area: Remove any furniture or objects near the trim and doors. Cover the floor with drop cloths to protect it from paint spills or splatters.
Step 2: Clean and Prep the Surfaces Proper surface preparation is key to achieving a smooth and long-lasting paint finish. Follow these steps:
1. Clean the surfaces: Use a mild detergent and water solution to remove dirt, grease, and any residue from the trim and doors. Wipe them down with a clean cloth and allow them to dry completely.
2. Remove hardware: If possible, remove doorknobs, hinges, and other hardware from the doors to make the painting process easier. If removal is not an option, protect them with painter's tape.
3. Sand the surfaces: Lightly sand the trim and doors with fine-grit sandpaper. This step helps create a rough surface for the primer and paint to adhere to. Wipe away any dust with a damp cloth.
Step 3: Apply Primer Priming is essential for achieving a professional-looking finish and ensuring the paint adheres properly. Follow these guidelines:
1. Protect adjacent surfaces: Use painter's tape to cover any areas you want to keep paint-free, such as walls or flooring adjacent to the trim and doors.
2. Stir the primer: Open the can of primer and stir it thoroughly to ensure an even consistency.
3. Apply the primer: Use a brush or roller to apply a thin, even coat of primer to the trim and doors. Work in long, smooth strokes, following the grain of the wood. Allow the primer to dry completely as per the manufacturer's instructions.
4. Sand the primed surfaces: Once the primer is dry, lightly sand the surfaces with fine-grit sandpaper. This step helps create a smooth base for the paint and removes any imperfections. Wipe away the dust with a damp cloth.
Step 4: Paint the Trim Now comes the exciting part – painting the trim! Follow these steps for a flawless finish:
1. Protect adjacent surfaces: Use painter's tape to cover any areas you want to keep paint-free, such as walls or flooring adjacent to the trim.
2. Stir the paint: Open the can of paint and stir it thoroughly to ensure an even consistency.
3. Cut in the edges: Using a high-quality brush, carefully paint along the edges of the trim where it meets the wall or other surfaces. This technique is called "cutting in" and ensures a clean and precise finish.
4. Paint the trim: After cutting in, use a brush or small roller to paint the rest of the trim. Work in small sections, applying the paint evenly and smoothly. Follow the grain of the wood for a professional look.
5. Smooth out brush marks: If you notice any brush marks, lightly run a dry brush over the painted surface to smooth them out. This technique is known as "tipping off."
6. Allow the paint to dry: Follow the drying time recommended by the paint manufacturer. Typically, it takes a few hours for the paint to dry, but it's best to wait overnight before applying a second coat.
7. Apply a second coat: Once the first coat is completely dry, apply a second coat of paint following the same process. This step ensures a solid and uniform finish.
Step 5: Paint the Doors Now it's time to give your doors a fresh new look. Follow these steps for a flawless door painting experience:
1. Protect adjacent surfaces: Use painter's tape to cover any areas you want to keep paint-free, such as the door frame or nearby walls.
2. Stir the paint: Open the can of paint and stir it thoroughly to ensure an even consistency.
3. Paint the recessed areas: Start by painting the recessed or paneled areas of the door using a brush. Work from the top down, ensuring even coverage and smooth strokes.
4. Paint the flat surfaces: Once the recessed areas are painted, move on to the flat surfaces of the door. Use a brush or roller, depending on the size and texture of the door, to apply the paint evenly.
5. Smooth out brush or roller marks: If you notice any brush or roller marks, lightly run a dry brush over the painted surface to smooth them out.
6. Allow the paint to dry: Follow the drying time recommended by the paint manufacturer. It's typically a few hours, but it's best to wait overnight before applying a second coat.
7. Apply a second coat: Once the first coat is completely dry, apply a second coat of paint following the same process. This step ensures a solid and uniform finish.
Step 6: Finishing Touches Congratulations! You've successfully painted the trim and doors. Now, it's time for the finishing touches:
1. Remove painter's tape: Carefully remove the painter's tape while the paint is still slightly tacky. This prevents peeling or chipping of the paint.
2. Reinstall hardware: If you removed any hardware, such as doorknobs or hinges, now is the time to reinstall them. Ensure they are clean and dry before reattaching.
3. Clean up: Properly dispose of any used paint cans, brushes, and drop cloths. Clean your brushes and rollers according to the paint manufacturer's instructions.
4. Admire your work: Step back and admire your newly painted trim and doors. Bask in the satisfaction of a job well done!
Painting the trim and doors inside your house is an exciting and rewarding DIY project that can completely transform your living space. By following these step-by-step instructions, you'll be well-equipped to tackle the task with confidence. Remember to plan and prepare, clean and prep the surfaces, apply primer, paint the trim and doors, and add those finishing touches. So, unleash your creativity, choose your colors, and get ready to enjoy a refreshed and vibrant interior that reflects your unique style and personality. Happy painting! If you lack the tools or time to get a job like this done, give us a call for a FREE estimate!
You might also like